This article contains affiliate links. If you purchase through these links, we may earn a small commission at no extra cost to you. This helps support myhomegympro.com so we can keep creating honest, in-depth content for home gym owners.
Why a Wall Mounted Rack Changes the Game
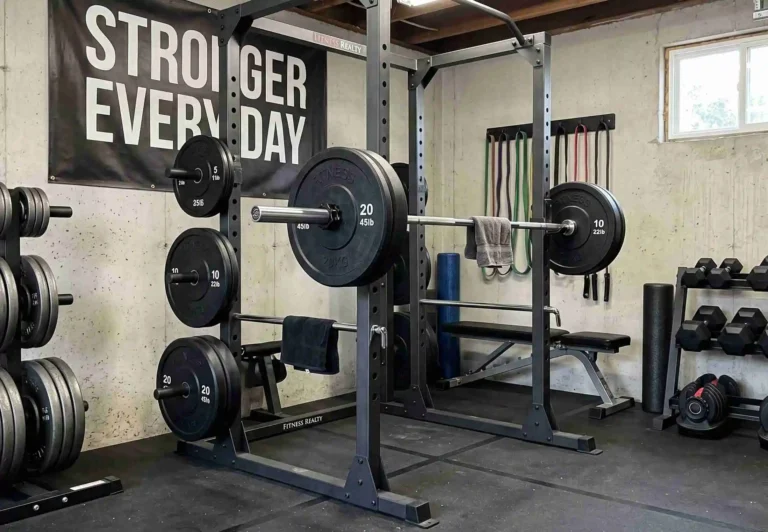
You finally have a dedicated room for lifting. Problem is, it’s a spare bedroom, not a warehouse. A full-size power rack would eat up the entire floor plan and leave you side-stepping around J-cups just to get to the barbell. Maybe you’ve tried free-standing squat stands, but they wobble under anything north of 275 and slowly creep across the floor mid-set. You need something rock-solid that actually respects your square footage. That’s exactly where the best wall mounted rack earns its keep — heavy-duty strength anchored directly to your studs, with a fraction of the footprint.
Quick Answer
If you’re short on time, here’s the bottom line. The Titan Fitness T-3 Series Power Rack is our top pick for the best wall mounted rack in 2026. It delivers commercial-grade steel construction, a massive weight capacity, and compatibility with a huge ecosystem of attachments — all while bolting tight to your wall and freeing up valuable floor space. It’s ideal for serious lifters who want a permanent, no-compromise setup in a compact home gym.
TL;DR
The Titan T-3 wins for lifters who want a permanent, heavy-duty wall mounted rack with tons of upgrade potential. If you need something that folds flat against the wall when you’re done, the Mikolo Folding Wall Mounted Squat Rack is the smarter play for tight, multi-use spaces.
Key Takeaways
- A wall mounted rack can cut your gym’s footprint by 50% compared to a traditional power rack while handling comparable loads.
- Proper stud mounting is non-negotiable — toggle bolts and drywall anchors won’t cut it for heavy squats and pulls.
- The Titan T-3 is best for dedicated gym spaces where the rack stays extended permanently.
- The Mikolo folding rack is best for garages and shared rooms that need to double as living space.
- Budget for mounting hardware, a stud finder, and potentially a concrete anchor kit if you’re in a basement.
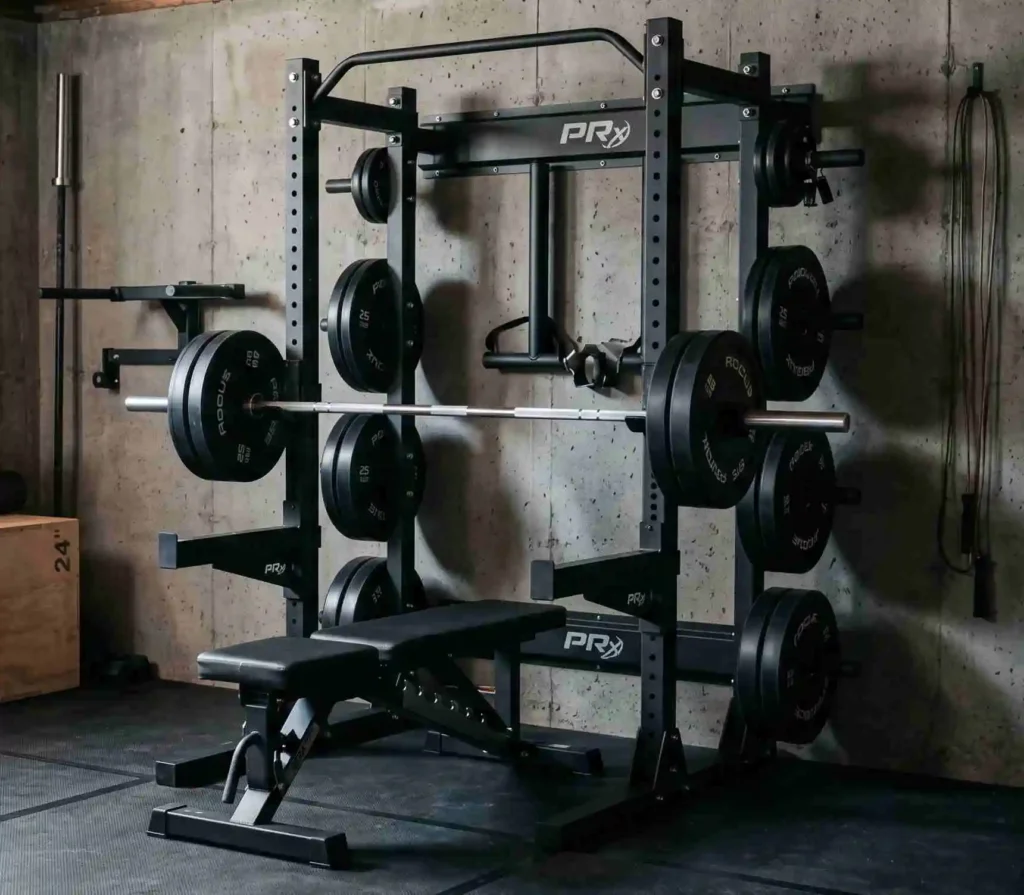
Table of Contents
What to Look For in a Wall Mounted Rack
Weight Capacity
Look for racks rated at least 800 lbs. Remember, the rack handles not just bar weight but the dynamic forces of racking and unracking. Anything under 500 lbs is a red flag for barbell work.
Steel Gauge and Construction
2″x3″ or 2″x2″ 11-gauge steel is the sweet spot. Thinner steel flexes under heavy eccentric loads, and you’ll feel it on every rep.
Hole Spacing and J-Cup Compatibility
Westside hole spacing (1″ apart through the bench zone) lets you dial in rack height precisely. An inch too high on bench press wastes energy on every unrack.
Mounting System
The rack must bolt into wood studs or concrete — never drywall alone. Heavy-duty lag bolts and steel backing plates that spread the load across multiple studs are what you want.
Foldability
Folding racks collapse flat against the wall when you’re done. Great for garages and shared spaces, but folding mechanisms can introduce slight play over years of use.
Attachment Ecosystem
Check whether the manufacturer offers dip bars, landmine pivots, plate storage, and cable pulleys. Proprietary hole patterns can lock you out of third-party accessories.
Depth When Extended
Wall racks extend 20–42″ from the wall. You’ll want at least 48″ of clearance in front for comfortable squatting and bar loading.
Common Mistakes When Buying a Wall Mounted Rack
- Mounting into drywall only. The fix: always bolt into studs or concrete. Use a stud finder and verify with a test drill.
- Ignoring ceiling height. The fix: measure floor to ceiling and subtract the rack’s full height before ordering. You need 12–18″ above any pull-up bar.
- Forgetting depth clearance. The fix: tape out the full footprint on your floor before committing. A 36″-deep rack needs another 4 feet of room in front.
- Skipping the level check. The fix: use a 4-foot level on both wall and floor before mounting. Uneven surfaces stress bolts unevenly.
- Buying based on price alone. The fix: prioritize steel gauge and weight capacity over saving $50. Budget racks often use thin steel and low-grade hardware.
- Assuming all accessories fit. The fix: verify exact upright dimensions and hole spacing before buying add-ons. A 2″x2″ rack won’t accept 2″x3″ attachments.
Our Top Picks for the Best Wall Mounted Rack
Best Overall: Titan Fitness T-3 Series Power Rack
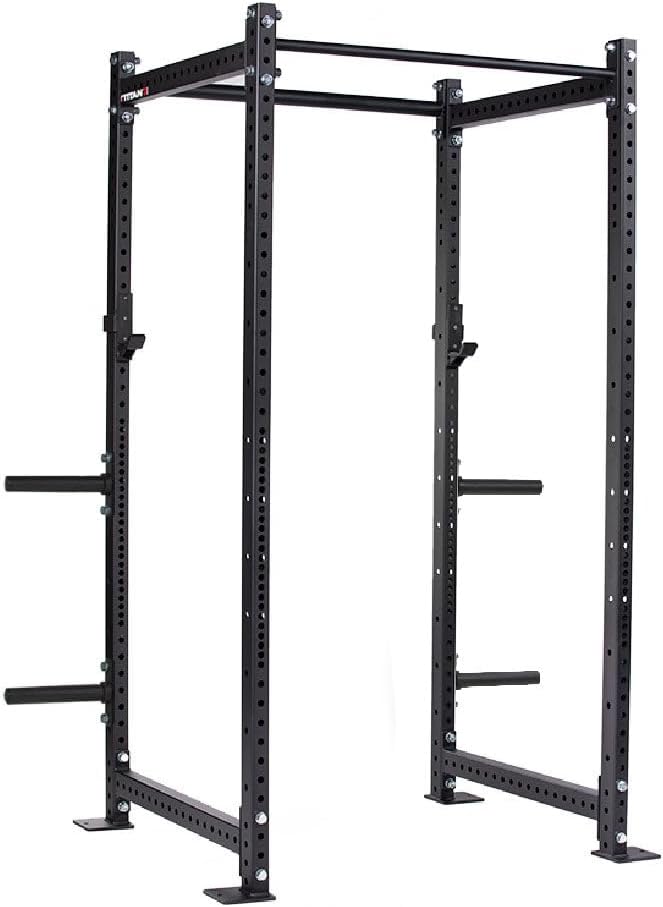
The Titan Fitness T-3 Series Power Rack is the wall mounted rack we’d recommend for any serious home gym. It features 2″x3″ 11-gauge steel uprights with 5/8″ holes spaced 1″ apart through the bench zone for Westside-style precision. The T-3 ecosystem is massive — Titan offers dozens of compatible attachments including dip bars, lat pulldowns, and plate storage. It handles well over 1,000 lbs, so you won’t outgrow it. The powder-coated finish holds up well against chalk and sweat. One honest knock: it’s a permanent install, not a fold-and-forget rack.
CHECK PRICE ON AMAZON: https://amzn.to/4rC4ttr
Best for Small & Shared Spaces: Mikolo Folding Wall Mounted Squat Rack

The Mikolo 2″ x 2″ Folding Wall Mounted Squat Rack is the pick for lifters whose gym space pulls double duty. It folds flat against the wall in seconds, giving you back your entire floor when you’re not training. The 2″x2″ steel uprights handle squats, bench press, and overhead work without noticeable flex at moderate loads. J-cups are included with adequate hole spacing. Where the Mikolo falls short is in sheer load capacity and the attachment ecosystem — fewer compatible add-ons, and the folding hinge points are a potential wear area over years. But if your garage needs to park a car on weekdays, this rack makes it happen.
CHECK PRICE ON AMAZON: https://amzn.to/46ohjCW
How to Get the Most Out of Your Wall Mounted Rack
- Invest in a quality stud finder. Electronic models with deep-scan mode are worth the extra $30. Verify every stud before drilling.
- Use 3/8″ x 4″ lag bolts with washers. They provide far more shear strength than standard wood screws. Pre-drill pilot holes to avoid splitting studs.
- Add a backing plate. A strip of 3/4″ plywood behind the drywall distributes load across more surface area and adds a real safety margin.
- Mark J-cup heights with colored tape. Once you find your ideal squat and bench positions, mark them. You’ll save setup time between exercises.
- Use liquid chalk. It keeps your grip solid without gunking up the pull-up bar or J-cups.
- Tighten mounting bolts quarterly. Heavy lifting creates micro-vibrations that slowly loosen hardware. A quick wrench check keeps everything solid.
Space & Setup Considerations
Plan for at least 4 feet of width and 6–8 feet of depth from the wall when the rack is extended. Ceiling height should be at least 8 feet for overhead pressing and pull-ups — 9 feet is more comfortable.
Flooring matters. Rubber stall mats (3/4″ thick) protect your subfloor and give you a stable surface. If mounting into concrete, you’ll need a hammer drill and sleeve anchors instead of lag bolts. A box fan or ceiling fan keeps air moving — a small room gets warm fast when you’re squatting heavy.
Troubleshooting Common Issues
- Rack feels wobbly after installation → Check that all lag bolts are fully seated and that you actually hit stud centers. If a bolt missed the stud, remove it, patch the hole, and re-drill into solid wood.
- J-cups rattle during lifts → Wrap the J-cup pin with a single layer of athletic tape for a tighter fit. Some lifters use rubber furniture pads inside the cups to kill noise.
- Bar drifts forward on the hooks → Your J-cups may be slightly bent or worn. Inspect the lip — if it’s less than 1/2″ tall, consider upgrading to UHMW-lined J-cups that protect the bar and grip better.
- Wall cracks around the mounting bolts → You may be dealing with old or weak drywall. Remove the rack, install a 3/4″ plywood backing plate across the studs, then re-mount through the plywood.
- Folding rack won’t lock in the extended position → Clean the hinge pins and apply a light coat of white lithium grease. Check that the locking pin holes are aligned — floor unevenness can cause the frame to twist slightly.
Expert Take
According to the American Council on Exercise (ACE), compound lifts like squats, bench presses, and overhead presses remain the most effective exercises for building functional strength and lean mass. A properly installed wall rack gives you a safe platform for all of these in a fraction of the space.
The National Strength and Conditioning Association (NSCA) emphasizes that training environment directly influences consistency. Removing barriers — like rearranging furniture or driving to a gym — increases adherence to strength programs. A wall mounted rack turns any room into a ready-to-go training station, which meaningfully improves long-term results.
FAQs
How much weight can a wall mounted rack hold?
Most quality wall mounted racks support 800–1,100+ lbs when properly anchored into studs or concrete. Always check the manufacturer’s rated capacity and ensure your wall structure can handle the load.
Can I install a wall mounted rack on drywall?
No. Drywall alone cannot support the forces of heavy lifting. You must bolt through the drywall into wood studs or concrete. A backing plate adds extra security.
Do I need a concrete wall for a wall mounted rack?
No. Wood-framed walls with standard 2×4 or 2×6 studs work fine when you use proper lag bolts. Concrete walls work great too but require sleeve anchors and a hammer drill.
How far does a wall mounted rack stick out from the wall?
Most extend 20–42 inches when in use. Folding models collapse to just 4–6 inches from the wall. Measure your available room depth before choosing.
Is a wall mounted rack safe for heavy squats?
Yes, as long as it’s properly installed into studs with appropriate hardware. Racks rated above 800 lbs and secured with 3/8″ lag bolts handle heavy squats safely.
Can I do pull-ups on a wall mounted rack?
Many models include a pull-up bar at the top. Make sure you have 12–18 inches of clearance above the bar to your ceiling so you can complete full reps.
What tools do I need to install a wall mounted rack?
You’ll need a stud finder, drill, 3/8″ drill bit for pilot holes, a ratchet or impact driver, a level, and a tape measure. For concrete walls, add a hammer drill and masonry bits.
How long does installation take?
Plan for 1.5–3 hours with a helper. Solo installation is possible but significantly slower and less safe, especially when holding heavy uprights in position.
Will a wall mounted rack damage my wall?
It will leave bolt holes in the studs and drywall. If you remove it later, you’ll need to patch and paint. Using a backing plate minimizes cosmetic damage to the drywall itself.
What’s the difference between a wall mounted rack and a squat stand?
A wall mounted rack anchors to your wall for maximum stability with zero floor footprint. A squat stand sits on the floor and can shift or tip under heavy loads. Wall racks are more stable but permanent.
Conclusion
If you’re building a home gym in a tight space, the right wall mounted rack is the single best upgrade you can make for serious barbell training. It gives you a rock-solid squat, bench, and overhead station without eating up your entire room. Our top recommendation, the Titan Fitness T-3 Series Power Rack, delivers the build quality, weight capacity, and attachment options that’ll serve you for years. And if your space needs to switch between gym and garage on a daily basis, the Mikolo Folding Wall Mounted Squat Rack folds away in seconds without sacrificing your training. Take your measurements, grab a stud finder, and bolt one in. Your home gym is about to get a whole lot more capable.